Making New Year’s Resolutions in January is easy. Keeping them going is another story. More times than most, we make our resolutions too complicated and without flexibility. We need to give ourselves some grace and allow for our goals to be tweaked. Some progress is better than no progress. Don’t throw in the towel just because you are not perfect. Aim for progress not perfection. Below are some simple healthy eating goals and one TIP to help you make progress. Keep trying and know we are all on this health journey together.
- Stay Hydrated – This is not always easy in the winter months when the last thing you want is a cold beverage.
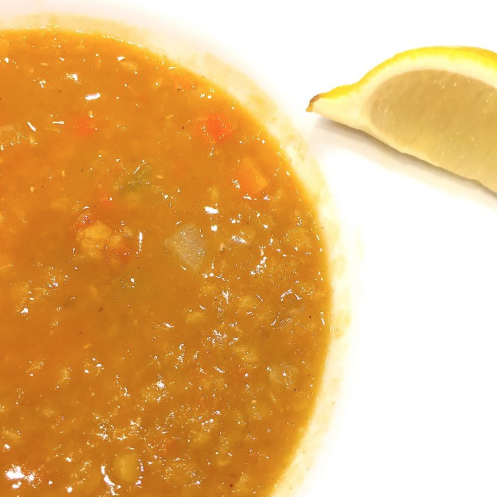
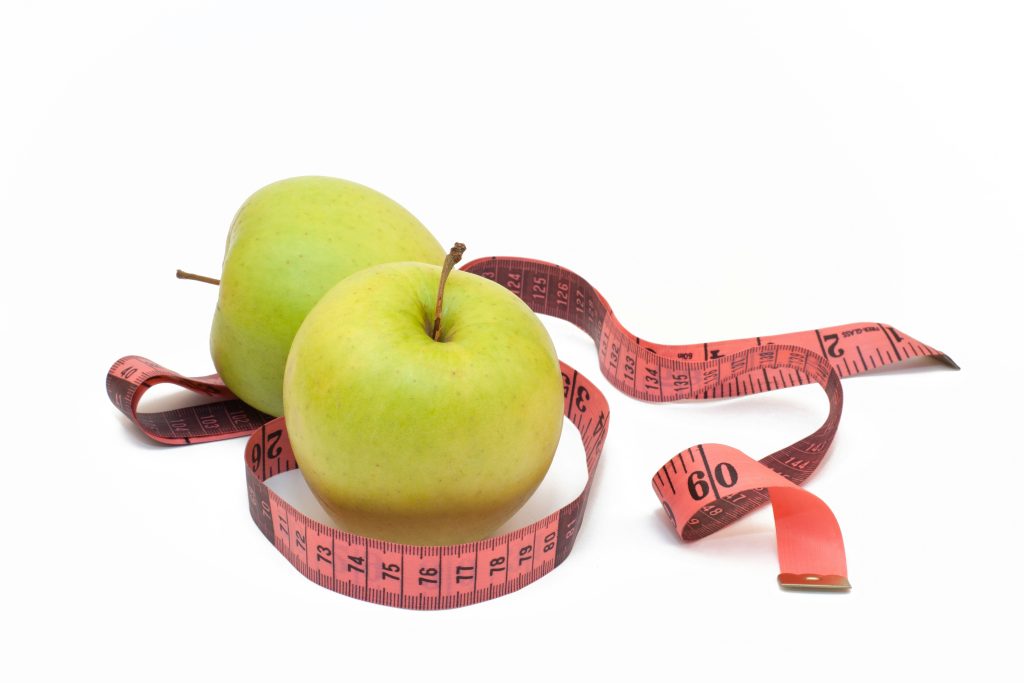
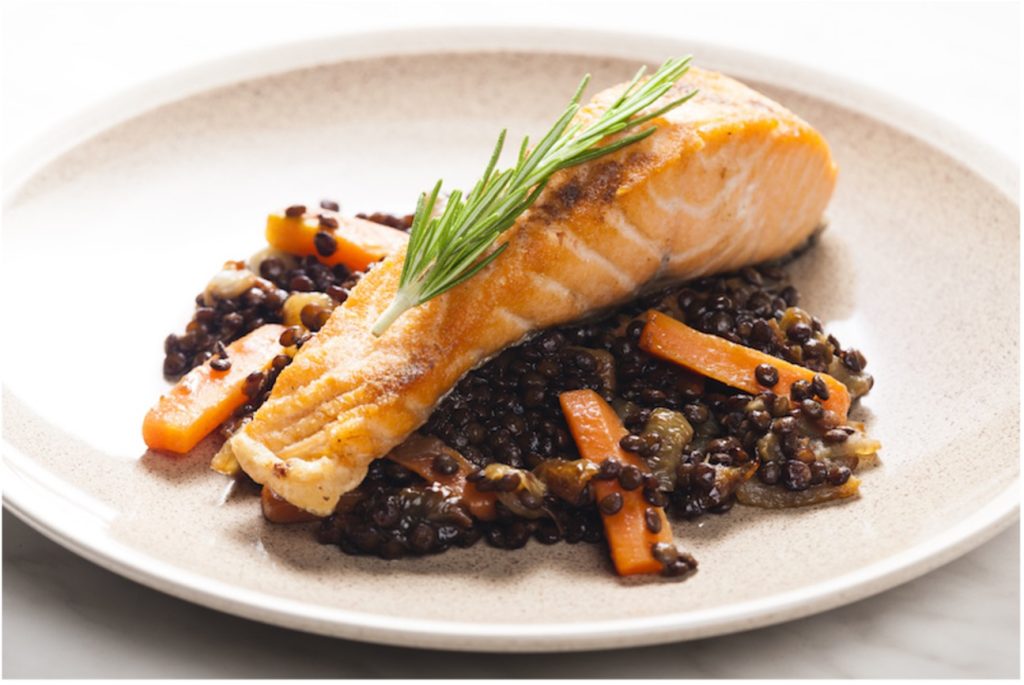
TIP: Drink hot lemon water. A simple and satisfying drink is hot water and a slice of lemon. It will keep you warm and hydrated. Need a bit more flavor, try herb tea. - Eat More Fruits and Vegetables – This goal is evergreen. Whenever anyone asks what is one thing they can do to improve their diet, I choose this one. Not only is eating the fruits and vegetables healthy, they will likely replace other foods that are not so healthy in the diet.
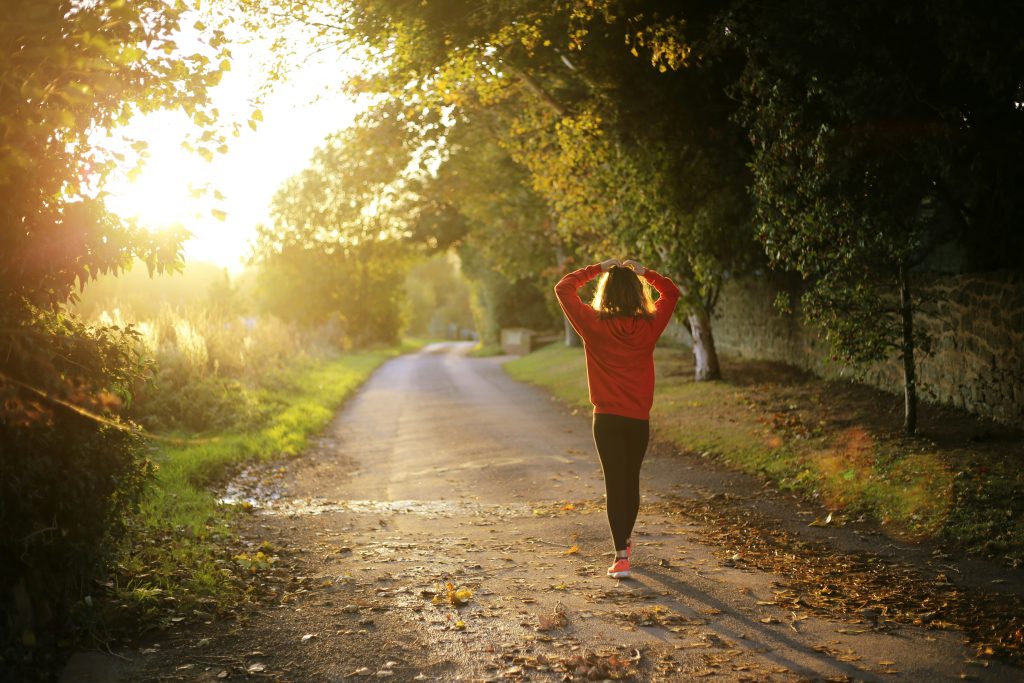
TIP: Make twice as much as you need. If you are roasting or steaming vegetables, make twice as much so you have leftovers (plannedovers) for future meals. - Keep or Get Moving – Winter is a hard time of year to keep moving. Too cold, too dangerous to be outside, and all of the other cold-weather excuses makes winter harder to be active.
TIP: Join a gym (and go to the gym). There are so many low-cost options now to give you a daily indoor option for moving. If you don’t have a gym in your area or are not into a gym, try youtube videos of walking. I REALLY like Leslie Sansone, here is one of her videos: https://www.youtube.com/watch?v=enYITYwvPAQ. - Sleep – This is something our programs highlight and emphasize over and over. Lack of sleep interferes with your hunger and satiety hormones making you hungrier when you don’t get enough sleep.
TIP: Keep your phone out of the bedroom. If you cannot do this (I have an elderly mother so I have to have my phone nearby), silence alerts and pushouts, especially weather alerts.
Don’t miss another great blog: Subscribe Now