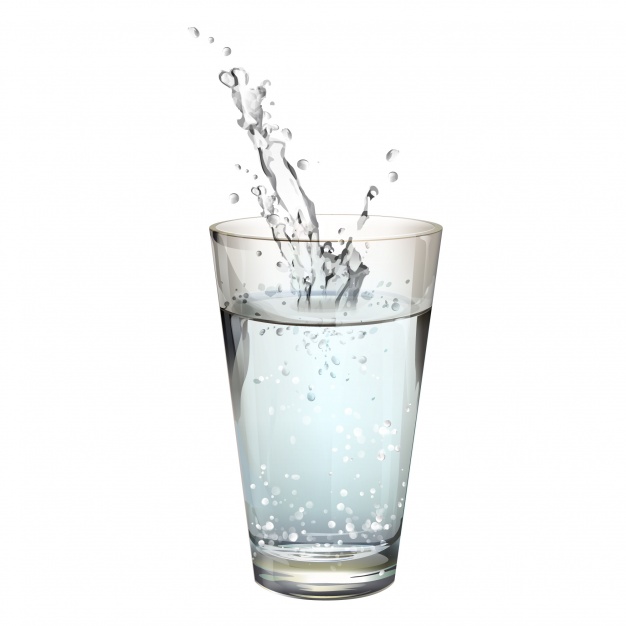
Sometimes I struggle to consume enough water each day, even though I know there are many health benefits of staying hydrated. If you need some creative ways to stay hydrated this fall, try these tips!
- Make water your preferred your beverage throughout the day and make other beverages (soda, fruit drinks, etc.) something you have on occasion.
- Keep a reusable water bottle with you at all times. There are many portable cups and water bottles on the market that keep your water cold for hours.
- Drink a glass of water before you start eating your meal to start filling you up a bit.
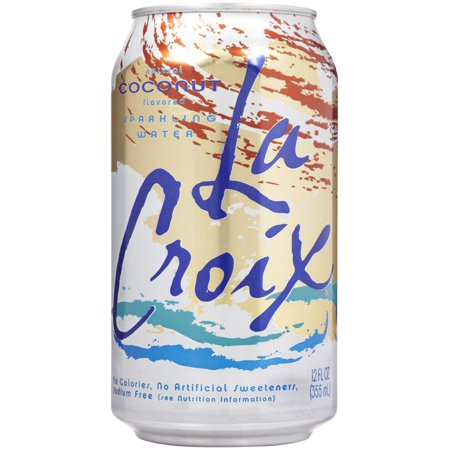
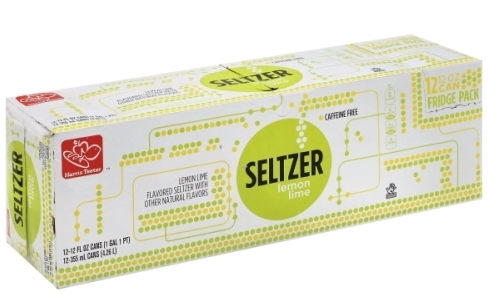
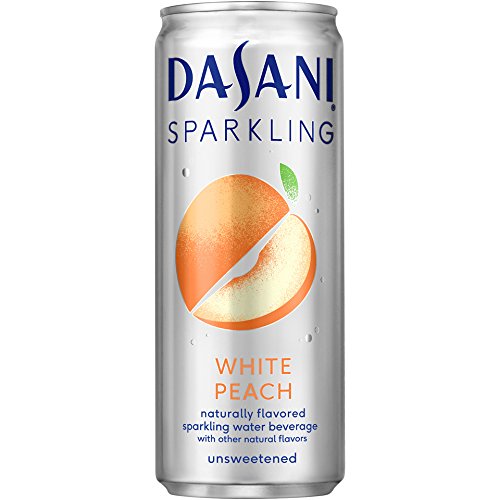
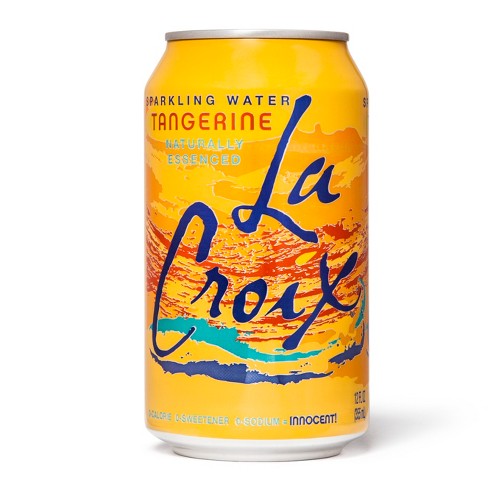
- Try sparkling water if you need an alternative to soda, like the extra fizz, or want a bit of flavor.
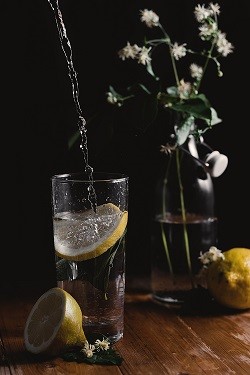
- Get creative with fruit-infused water to add flavor without the added sugar. I like a combination of pineapple chunks, sliced strawberries and blueberries with ice in my reusable water bottle.
- If you have a long commute to work each day or any other activity, create a challenge to finish your water bottle before you make it to your destination.
How do you stay hydrated and drink enough water? Share your tips and tricks below.