February is American Heart Month and National Canned Food Month. Heart disease continues to be a leading cause of death among Americans. Diet is one of the best ways to prevent and treat chronic diseases. It is important that we include fiber from whole grains, fruits, and vegetables in our daily eating.
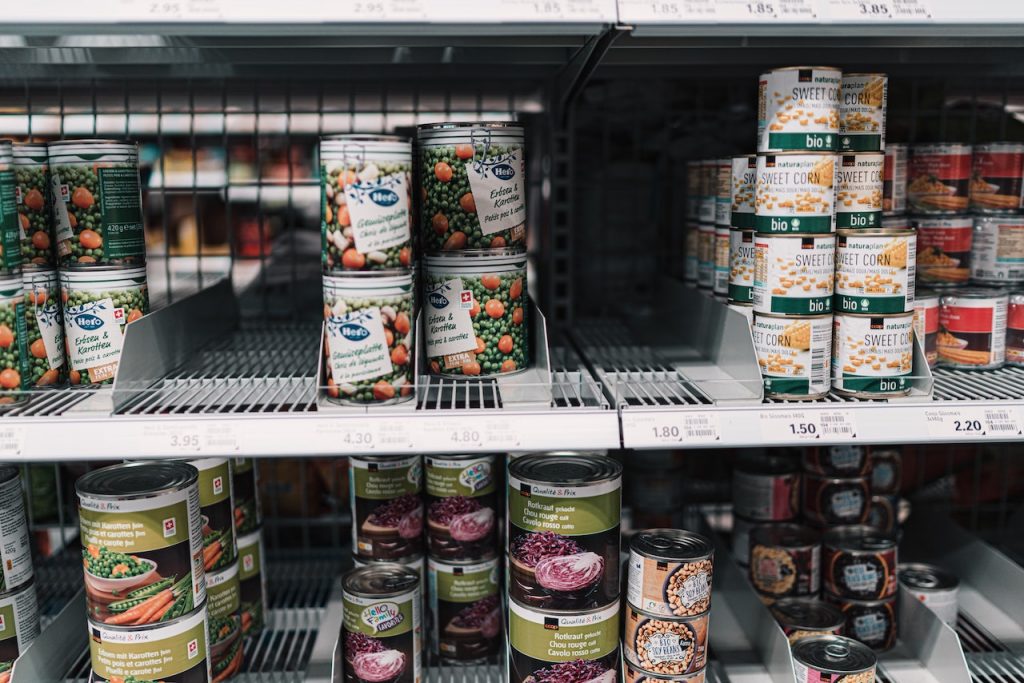
Eating canned fruits and vegetables is an affordable, convenient, and easy way to include more fruits and vegetables in your diet! Canned foods are just as nutritious as frozen or fresh and they don’t expire nearly as quickly as fresh produce.
Tips for Buying Canned Food
- Select: Choose cans that are in good condition- no rusting, bulging or severe dents on the seam.
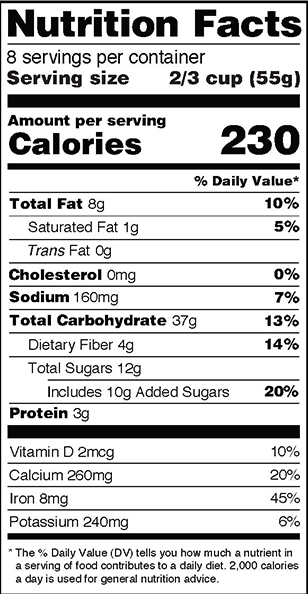
- Watch for sodium: Sodium is usually added to canned foods to preserve them. Look for low-sodium, reduced-sodium or no-salt-added labeled foods. Compare the sodium content on the Nutrition Facts label and choose the product with the lowest amount. Drain and rinse canned vegetables to reduce sodium even more.
- Watch for added sugar: Look for fruit that’s canned in water, its own juice, or light syrup. You can drain and rinse to remove any excess sugar. Canned fruit contributes far less to the added sugar in most American diets than sources such as soda and sports drinks.
- Store: store cans in a cool dry place, away from temperature extremes (not above the stove or in the garage). Use by the date on the can and once opened, refrigerate any unused portion in a different container.
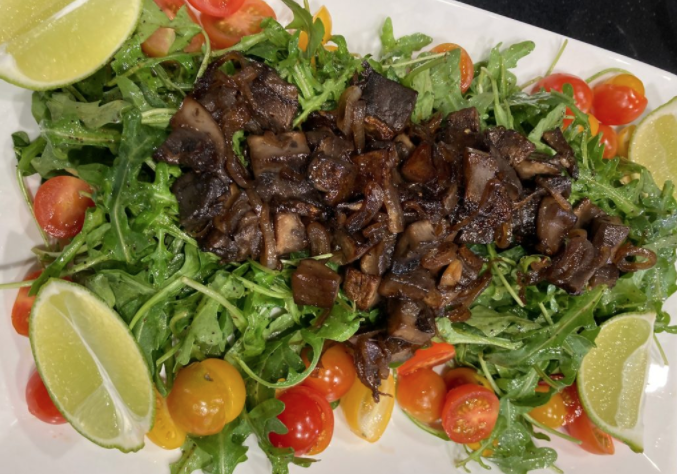
Recipes that use Canned Food
- Quick Chickpea Curry
- Instant Pot Mexican Quinoa
- Healthy and Easy Meal Prep: Greek Bowls
- Quick Weeknight Dinner: Mexican Quesadillas
- Healthy and Creamy White Bean, Lemon, and Kale Soup
- Air Fryer Spiced Chickpeas
- Stuffed Sweet Potatoes
- Lemon Artichoke and Quinoa Salad
- Instant Pot Vegetable Pulao
- Three Bean Salad
- Best Tuna Sandwich
- Sweet Potato Casserole
- Salmon Patties
- Whole Grain, Chickpea, and Black Bean Salad
- White Bean Hummus
- Lentil and Beet Salad
- Quinoa Pinto Bean Salad
- Mexican Salad
- Brown Rice Salad
- Black Bean Soup
- Whole Wheat Pasta with Beans and Greens
Share how you use canned fruits and vegetables in the comments!
You may also enjoy:
Top 10 Vegetarian Sources of Protein
Steps to Eating the Med Way: Change Your Protein
Don’t miss another great blog: Subscribe Now